Tagged: drums
Mike Johnston’s Positive Post Campaign
Here is a video of one of my favorite drummers Mike Johnston sharing his positive thoughts and emphasizing on why one should not discourage one’s playing. A lot of people give up because of negativity or negative comments which come from people’s insecurities (correctly said by Mike) but something positive can completely turn that around- whatever aspect of life that may be. So next time if you are watching a video on YouTube, try posting something positive no matter how good or bad it is.
Mike Johnston is such a nice guy with all the positive thoughts in the world and who is always an inspiration to me and I am sure many of you out there too.
You can reach me on Twitter @yeshwanthbhatt.
Knowing Your Drum Set Part II: How To Set Up A Drum Kit
In this post, I am going to talk about setting up a drum kit. The drum kit needs to be set in a way that is comfortable to the drummer and also aesthetically appealing. This is really important so as to minimize reaching and stretching, making the drummer really comfortable and not affecting his/her balance. For people who cannot afford a drum kit right now, don’t worry, make friends with other drummers who have a bit of experience and have accomplished something. It is great to mingle with drummers and musicians who have so much of knowledge about the instrument. This can trigger your creativity instantly. Taking lessons is good. But learn it from a teacher who has vast experience and has played with other musicians. Another good idea is buying a practice pad before buying a drum kit, and of course the sticks (comes at a lower price) and practicing everyday till you get a Drum set of your own.
In case you have missed the previous post about Knowing your Drum set, and all the basics of the drums explained there, Click here.
The following steps explain how to set up each piece/instrument of a Drum Kit:
- Set the Bass drum in a central spot so that there is plenty of space on either side to set up the other pieces. Your right leg should be parallel with the drum with the foot on the pedal. That is, the energy must come from the right side of the hip focused on the pedal(a straight line) and always sit in an upright position.
- The legs of the bass drum should be set properly and use the spurs on the bass drum legs to keep the drum from sliding around if you’re on a carpet. Set the pedal clamp under the bass drum by lifting it and attach it to the batter side, so the pedal is concentrated on the center of the bass drum hoop.

Bass Drum

Energy must come from the right side of the hip focused on the bass drum (pedal)

The bass drum pedal must be concentrated on the center of the hoop
- Next the Snare drum should be positioned and angled in such a way that the proper alignment of the forearms and hands is not affected. This is very important because the snare drum is the one your going to play the most often. Place the snare on a snare stand and it should be arranged in a manner such that it is between your legs. Precisely, it should be at a belt-buckle height and should not hit the knees.

Snare Drum
- When playing on the snare, you should be able to hit the rim of the snare at a comfortable position and your arms should not be constricted to play the snare. With Traditional grip, the snare drum is usually tilted slightly downward toward the right(if right handed) and with the Matched grip, the snare drum is usually flat or slanted downward toward the player.

The snare drum should be placed between the legs
- The Mounted Tom-Toms are attached onto the bass drum just like how you set the legs of the bass drum. It depends on the brand but do check their set-up guide. Drummers may use one or more mounted toms, which range in size from 10″ to 15″ in diameter. They should be slightly tilted toward the player in such a way as to allow him/her to clear the drums rims, while striking the heads comfortably with the side of the stick tip.

The High Tom mounted on the bass drum.

Tightening the screw of the High Tom..The Low Tom is mounted the same way.

Mounted Toms

- The Floor Tom usually ranging from 14″ to 16″ in diameter should be approximately the same height as the snare drum. It may be angled slightly toward the player or the snare drum.


- The Ride Cymbal is usually 19″ to 22″ in diameter and medium to heavy in weight. It needs to be placed higher such that you can get to your low and floor toms easily, but close enough where you don’t have to overreach when playing the bell with the shoulder of the stick.

Ride cymbal
- The Crash Cymbal range from 16″ to 18″ in diameter and thin to medium in weight. They should be tilted slightly and positioned within normal reach so that the shaft of the drumstick will strike the edge of the cymbal. Remember cymbals should be placed at a higher angle.

Crash cymbal
- The Hi-Hat arrangement should be at the left of the snare. The same considerations can be followed just like the bass drum pedal. The bottom hi-hat cymbal should be put on the top hi-hat cymbal. The pedals of both hi-hat and the bass drum should be in a ‘V’ position. You can set the hi-hat low or high depending upon the style of play. So the energy from left side of your hip (at a straight angle) is focused on the hi-hat with the left foot on the pedal of the hi-hat. And as mentioned above the energy from the right side of your hip is focused on the bass drum pedal.

Hi-Hat

Hi-hat pedal (Your left foot on this pedal)

- The Throne or the Stool is where you sit on it in an upright position with the left foot on the hi-hat and right foot on the pedal with positive energy focused on the drum set. Make yourself comfortable at all times. The whole kit should not be too twisted or constricted in any way for you.

The Throne or the Stool


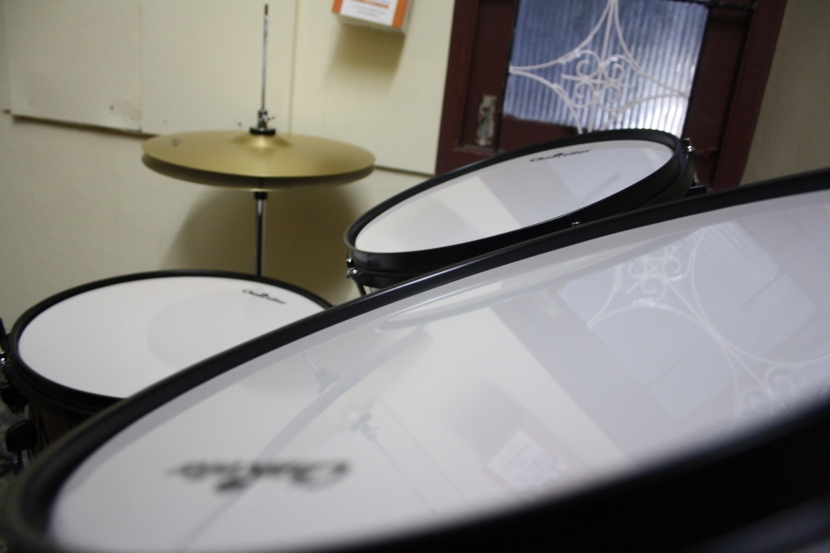
This is my drum set. (Excuse my amateur photography skills :-] )
These are just a few suggestions from me on arranging a drum set but it holds good for a basic four-piece or a five-piece drum set. Of course, there are so many different brands of drums but the setting up of the kit will almost be the same as above for a basic set. You can refer to the drums set up guide of that particular brand they provide. Many great drummers have a bigger drum kit sometimes, extremes. I have just given you a few suggestions to get you started but follow this and you will never go wrong. The relationship between you and the drums speaks a lot.
In case you have missed the previous post about Knowing your Drum set explaining the basics of each instrument, Click here.
Follow my blog to stay updated to similar posts. You can reach me on Twitter @yeshwanthbhatt.
GoD: Go Drumming
Beat it!
